Looks great Adam! I really like the alternating stained boards. Great work
on the finish. I feel your pain with polyurethane the end result is all
that matters. :)
I came across a drill attachment for cleaning rollers.
Spin it inside an empty box or bucket to centrifuge the paint off.
There’s one for brushes too!
Bound to be videos of it.
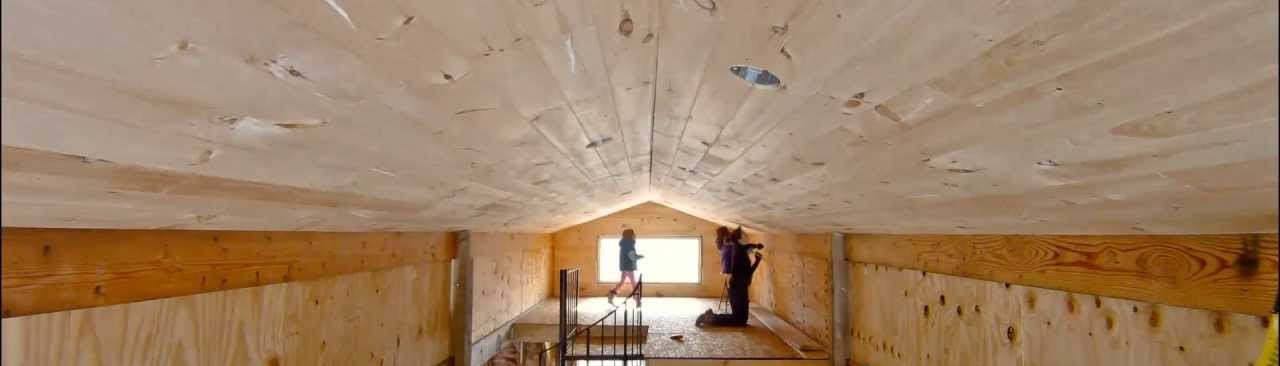
That ceiling turned out so awesome. It is cool how the alternate staining
of the boards accentuates the length of that narrow room. Just cool! I am
excited now to watch how the floor and side/window walls turn out.
Passing lightly over themsurface with a fine sandpaper is more than enough
to get it sanded and shave off the “beard” of your pinewood ceiling! It
will take you no more then half an hour! Coating over it without sanding
will do you no good!:(
This coating you use it very resistend for scrubbing because of walking on
it! For a ceiling you can use everything to make it get a shiny glossy
look! Like bee-wax! That stuff smell better than polyeurithane! A simple
varnish had done the job too!! Now it is a bit the world upside down to me!
These rollers do a great job! With paint they spray alot so you have to
cover that what you don’t want to be painted! My wife loves them and
recently painted most of the walls of our house in no time! I spent more
time cleaning after she was ready!:-):-):-)
You saved me a huge amount of time and effort. I have a 1880’s Victorian
house in New Orleans with T&G ceilings. I shellac’d one ceiling with a
paintbrush. Looks great, but I thought there must be a better way. Was
about to tackle the job and found your vid. Totally gonna do the rest of
the house your way. Thank you!!!

that looks good man
great job !!! i really really enjoy your videos
Turned out looking good…
Looks great Adam! I really like the alternating stained boards. Great work
on the finish. I feel your pain with polyurethane the end result is all
that matters. :)
WoW… That looks Awesome…
Ceiling’s looking good Adam. Can’t wait to see the finished room! How far
back were these recorded? You insulated/heated for the winter?
this looks so good I want to go get my bowling ball and roll is down the
lanes (if they weren’t upside down)! great videos keep them coming.
I came across a drill attachment for cleaning rollers.
Spin it inside an empty box or bucket to centrifuge the paint off.
There’s one for brushes too!
Bound to be videos of it.
That ceiling turned out so awesome. It is cool how the alternate staining
of the boards accentuates the length of that narrow room. Just cool! I am
excited now to watch how the floor and side/window walls turn out.
From someone that WILL NOT POLYURETHANE ANYTHING, This looks really great,
nice thinking outside the box to turn the poly application upside down.
Passing lightly over themsurface with a fine sandpaper is more than enough
to get it sanded and shave off the “beard” of your pinewood ceiling! It
will take you no more then half an hour! Coating over it without sanding
will do you no good!:(
This coating you use it very resistend for scrubbing because of walking on
it! For a ceiling you can use everything to make it get a shiny glossy
look! Like bee-wax! That stuff smell better than polyeurithane! A simple
varnish had done the job too!! Now it is a bit the world upside down to me!
These rollers do a great job! With paint they spray alot so you have to
cover that what you don’t want to be painted! My wife loves them and
recently painted most of the walls of our house in no time! I spent more
time cleaning after she was ready!:-):-):-)
That must have been a high weekend sniffing that much if solvents!!!
That looks nice, but also a little like a bowling alley…
You saved me a huge amount of time and effort. I have a 1880’s Victorian
house in New Orleans with T&G ceilings. I shellac’d one ceiling with a
paintbrush. Looks great, but I thought there must be a better way. Was
about to tackle the job and found your vid. Totally gonna do the rest of
the house your way. Thank you!!!