Phew.
Video Transcript…
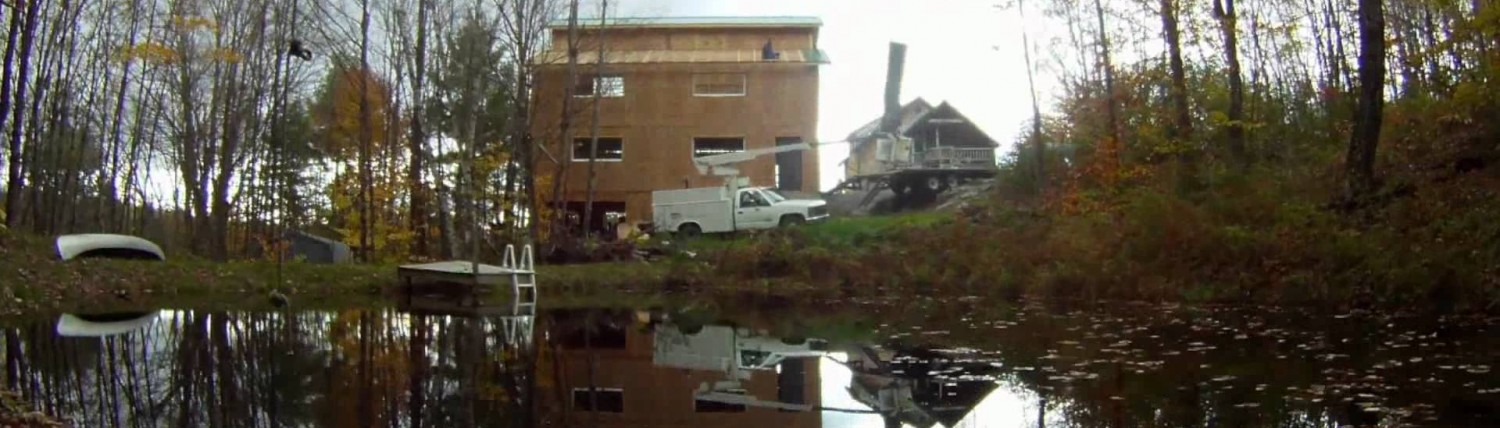
so I had to process today is gonna be take that wall apart ve got to glue all the seams in between the blocks with foam adhesive just the feet in the right spot m gonna be putting the rebar in m actually also drilling into the ledge and ll be epoxy a rebar into the lid and also into the foundation kind of work my way around set the first course permanently and then build up from there and the building up from there is gonna be just super easy s like putting together Legos styrofoam fits easily together re just bang it with your hand and this together and then move on from there so I started the ICF stone over here with that corner block I had a bunch of feet on it leveled it up and then worked over here to this block where I immediately ran into ledge this ledge is kind of prevalent in this site so I knew I would have to work around it s one of the reasons I got the feet so that I could avoid building footings I could just use the feet to level the blocks and then the concrete will ooze out kind of underneath the block and create somewhat of a footing after placing this first block you go to the next block you work up a block you do this one you kind of keep going your course horizontally and then I brought my horizontal course back to the wall and then worked to level everything plumb everything and make sure s square with the current house then basically worked my way around to the other side of the house and again s the gap s underneath there is rebar under there but you t so that basically will squeeze out and be my footing what m doing here is s called a mono pour concrete goes in the top of the forms goes down and creates that footing loses out underneath and then we do only about a six inch lift and then stop pouring well basically we continue around the entire foundation pour that six inch lift all the way around and then basically let the concrete slake for an hour so in this or more if re doing in the winter and then ll come back and do inch lifts on top of it so the reason is if you let s Lake ll be ll harden enough so that you can actually pour on top of it and it t all pour out the bottom so doing a mono pour like this has a number of advantages especially when you have a challenging site like I have means that I t have to get the pump truck out here twice it means like important one shot so if s labor costs involved those are reduced it eliminates the cold joint between the footing and the wall that normally happens and so and for me it eliminated the need to have to pour footings which for some reason I found unbelievably challenging to even figure out how to do on all this ledge so this is a good shot of the rebar that ve run through the forum and you can see ve actually drilled holes in the existing foundation and epoxy the rebar in and ve done that not only up here at the top and this block but if you can see down below ve done that down there as well so s the footing steel going around epoxy it in and it goes around the foundation ve also got vertical steel in some places this one here is a buck seed into that hole down below I t think you can actually see it real well but s going to create a super solid joint straight up through the footing and the wall and really make this foundation solid so ve got two pieces of steel up top these this is where it overlaps from the coming out of the foundation when using s like this you t have to tie these re in a pocket which holds them together so ve got steel on the top row here and then I skipped a row and then I have steel down below as well and then around the corner two pieces of steel on the corner these all the lye up and make secure at some point I mean coming around the side here s kind of what it looks like and then some more overlapping steel another vertical piece s pretty much what it looks like these feet are pretty incredible actually so they have an adjustable drill adjustable top so I can put an Allen wrench in there and adjust these up and down it lets me really tune the left the plumb of the blocks and then also the level of the blocks when I first set them and then you can see my ICF stepped down into that hole the pit of despair this s kind of cut out here I will I will scab a piece of plywood on like so to keep the concrete from just pouring out of there s really no use for that but it would seem easier to just use plywood to create that to fill that gap rather than trying to I you can see over here I described the ICF to meet the ledge as best I could and and but as re still left with some triangles just because the s on the ICF t really start until here and so this block would just literally be a piece of styrofoam with no webbing to actually hold it together so in situations like this ll just scab pile it on as well you can see ve got some plywood here in six spots actually and this is because my corner joint I was unable to stagger because the the corner was so tight just a good example of this so right here is a staggered a staggered joint right so this here this joint does not fall on top of a joint below or a joint above the next joint well s really hard to see t it I think the next joint is right there so because this corner was so tight I was unable to to stagger them and so all you need to do is scab a piece of plywood on there to connect into the webbing and ll basically protect that joint for the poor so you can see down below ve used some zip ties temporarily to hold the block together while the foam basically cured its we used foam glue in the in the seams and a lot of places on the bottom of course and s because re not building this ICF wall on top of a footing normally when you build it on a footing your foam is in between the block s basically all along these edges here and it glues it down to the footing but of course re not using footings here so the glue basically keeps the blocks tight together along the bottom course so the feet can lift it up as one unit and also I just find that it gives me a little extra insurance for blowouts so there are sections where the s t t use full blocks this is actually one of them here and this is actually one that we had to redo after we put it in so the block goes from here to here s a short block but as you look down this course re all full blocks from the original foundation so you have to cut the blocks re super easy to cut we use a pruning saw you can see re all numbered so these are the actual the inches one two three this this bark happens to be upside down you can see them here actually so one two three four five six so these are inch marks all along every block these are the web so s what a plastic webbing is if I go up to the top of the wall ll see that that is the webbing and then these s here which is actually the brand have the ICF s a super strong connection in here for drilling and hanging heavy things off of on the wall but if you look at this block here we originally put it in it was a little tight so I decided that we got idea to jam it in and so I did and I got it to fit and that was fine until I want to put the block on top of it and what ended up happening was because I jammed it in it spread this and it changed where the teeth actually fell and I found that I could not get the top block on at all because these I basically had like a half a tooth here and this block was just like oh s not gonna happen so I just actually ran the sauce down this line cleaned out the styrofoam and then I did that a couple more times until the the block came in and I was able to put the block on top super easy fix I would recommend if re gonna use glue and if re gonna use like short pieces put your block in glue it put a block on top even if s a temporary chunk just to span this here because then ll keep the teeth lined up the glue will dry and then ll be good to go this piece of rebar I think yeah so this piece of rebar is epoxy din I t really zoom in to show you but s epoxy it into the ledge down below s technically on the wrong side of the wall it should be on the inside of the wall s on the outside but m not really back filling a whole lot here anyway you want your vertical rebar on the tension side of the wall so if you were if you had dirt on the other side back field against this it would be pulling on the wall this way and you would want your rebar here to resist that kind of warping force of the the weight being pushed this way I was I was happy to get the hole drilled in the rock so this one which is not epoxy then I can hold ll zip tie this to the a tension side of the wall as well this question is what am I gonna do with the crawlspace s left on the inside of this edition all right so ve got tons of dirt rocks ledge sticking up no grass s kind of a mess and s too much to fill with stone and sand like I did in the garage and so the plan that ve come up with so far is to cover it in a 10 mil plastic sheeting and then just concrete over it just a thin layer just to just a cap it and keep the moisture in in the ground and not in my crawlspace I thought about washing all the ledge so that it was just Rock down here but that seems unrealistic at this point so so yeah s the s the addition project and kind of where m at with these s it was super super hard to get started with this project I was kind of confused how I would go over this ledge and still be confident in the ability of the wall to be what it needed to be but finally I just settled on this this fast foot method no screwing these to the bottom and adjusting it and it really I really think s the way to go for this application and for what m doing it may not be what you what you need but I think s actually gonna work out pretty well for me so yeah thanks for watching
